How to, Indian food
How to make yoghurt
How to make yoghurt
An overriding memory of my teenage years is the late-night ritual of making dahi, which is the Punjabi and Hindi (Indian languages), word for yoghurt, and pronounced ‘day’. It’s a very simple and straightforward process, and requires no special equipment at all, so here’s how to make yoghurt…
All that was required was:
- a pint of milk, (which was still in glass bottles delivered by the milkman), and…
- a small amount of the last batch of yoghurt, (or if none available, then a small pot of shop-bought yoghurt, to be your starter).
- The ability to feel temperature in your pinky finger!
- 2 tubs with lids, and thick towels or blankets in which to wrap the bowls.
- A warm place, (we used to use the boiler cupboard, pre combi-boiler days). We placed it on a warm radiator for this batch.
The pint of milk was poured into the saucepan and brought to the boil. You had to be sure to watch it, as it would very suddenly come to the boil and could very rapidly boil over, causing quite an unpleasant burnt smell and mess.
Once the milk had come to the boil, it had to be successfully snatched away from the heat in the nick of time to stop the dreaded boiling over. On the occasions that ‘one’ was day-dreaming and failed in this task, (leaving a burned mess on the hob), the requirement for the flat green scourer and ‘Jif’ cream cleaner to come into action was necessary, as part of the yoghurt-making process.
My mother would then leave the milk to cool, giving an occasional stir to prevent a skin forming and to allow for faster cooling. She would periodically check the temperature with her pinky finger, and instruct me to do likewise, so that I would understand when the temperature would be right for adding the yoghurt.
Once she deemed the temperature to be correct, both of us having done one last dip of pinkies to concur that the moment was right, she quickly added the small amount of yoghurt from the previous batch she had made. Sometimes she would have run out, and would buy a small pot of yoghurt (and I never noticed any difference in the resulting batch, from not using her own batch).
She would then stir the yoghurt into the warm milk and then, with a Tupperware tub or bowl at the ready, she would pour the warm milk and yoghurt into the tub from quite a height. She then poured the milk back into the saucepan and continued with this back and forth between saucepan and tub. She did this quite a few times, explaining to me that it was important to mix the yoghurt well into the milk and to remove any lumps of yoghurt. This procedure was always my favourite part and it was always impressive that she poured back and forth from quite a height creating a real froth of milk, without spilling any! This procedure was done quickly so that the milk stayed warm.
When the warm milk was thoroughly mixed well with the yoghurt, and there were no visible lumps and plenty of froth, she sealed the Tupperware tub with it’s lid. This was then placed into another plastic tub, one size up. (She had a set of different size plastic tubs and lids).
This larger tub, containing the smaller tub, which contained the warm milk and yoghurt, was then carefully carried upstairs and placed into the centre of a Razai (pronounced Rr-jye). A Razai is a hand-made Indian quilt. The bowl was carefully wrapped in the Razai and placed in the warm airing/boiler cupboard and the door closed.
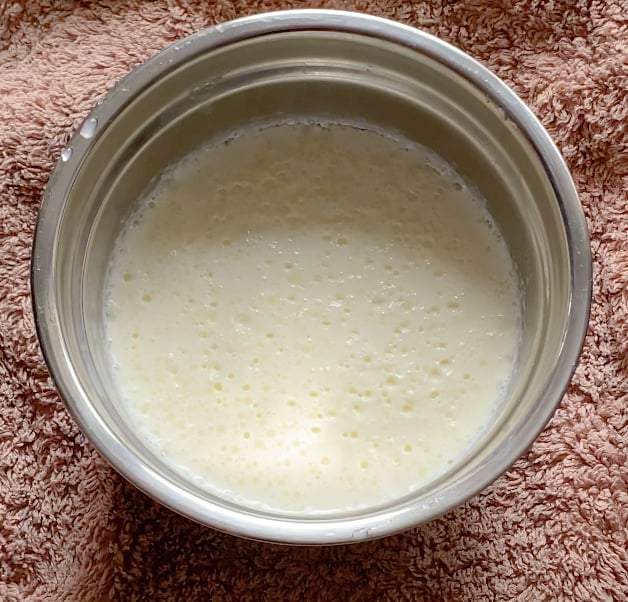
The next morning, my mother would go to the airing cupboard, carefully remove the Razai bundle and place it on the floor. She would carefully unwrap it, lift out the tub, and carefully peel of the plastic lid. Then very carefully, she would take off the smaller plastic lid.
This was always a moment of great suspense, because there were two possible outcomes:
Firstly, the good one – that we would have perfect creamy dahi with a yellow-ish film of watery yoghurt liquid. Sweet and tasty. This caused much nodding of the head and satisfaction. That evening my father would pronounce…”dhai swad hai’ The yoghurt tastes good! My mother would look VERY pleased.
Secondly, the bad one – that she would look concerned, then sniff the yoghurt, then taste it, and then sadly declare it to be ‘Khata’, meaning ‘sour’. This was most disappointing. Later that evening she would discuss this with my father and they would both shake their heads in a mixture of sorrow, disappointment and resignation. Sometimes they would even discuss the possibilities of what could have gone wrong, (left in the airing cupboard for just that bit too long). As a teenager growing up in Southsea, this exchange between my parents always caused me some mild amusement on the rare occasion that it happened.
Who cared, thought I….until I made my first batch alone….
If you would like the simple satisfaction of knowing how to make yoghurt, then give it a go – it’s easy…except when it’s not 🙂
Step 1.
One pint of full-fat milk.
One to two tablespoons of yoghurt. – the colder the weather, the more yoghurt is needed, the warmer, then less. In very hot weather you may need 1 tablespoon. This is a judgement, feel and experience thing. Practice makes perfect so try with 2 tablespoons and see how it goes.
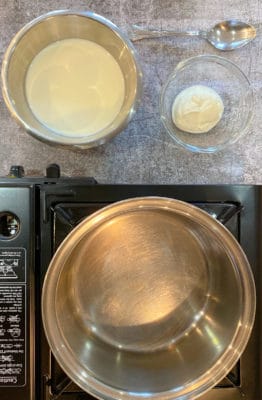
Step 2
Bring the milk to the boil, allowing it to rise up to a foaming boil. As soon as the milk has foamed up to the top of the saucepan, quickly remove the saucepan from the heat.
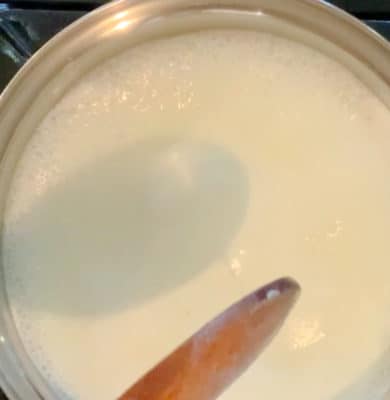
Step 3.
Leave the milk to cool, stirring occasionally to prevent a skin forming. The milk needs to be at the right temperature when adding the yoghurt. Keep checking with your baby finger for when it feels slightly warmer than body temperature.
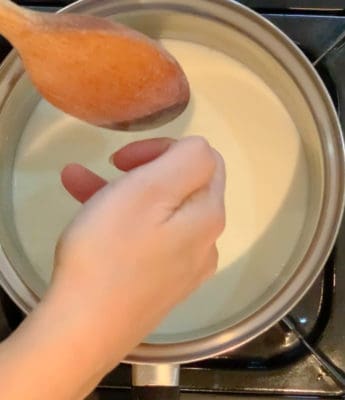
Step 4.
Pour in the one to two tablespoons of starter culture of yoghurt. This is any plain yoghurt that you already have.
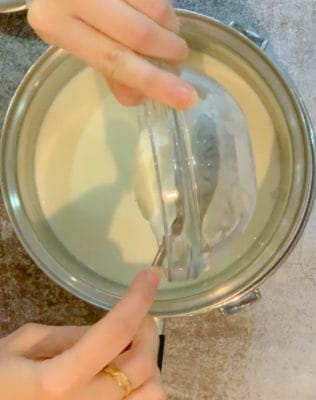
Step 5.
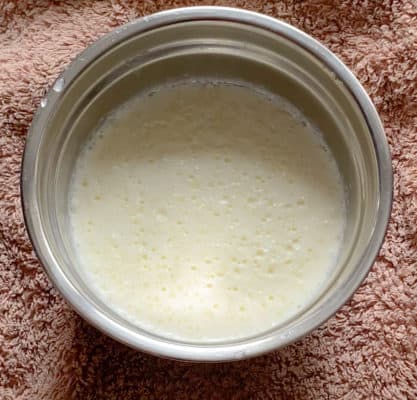
Pour the warm milk back and forth between the saucepan and the bowl. Pour back and forth from a height to break up and disperse the lumps of yoghurt.
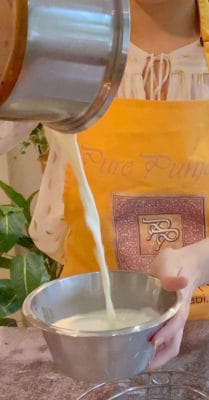
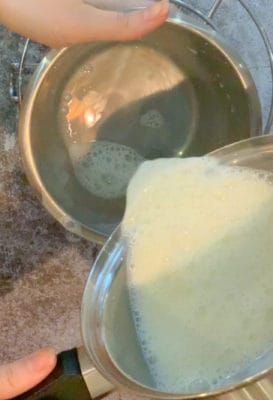
Step 6.
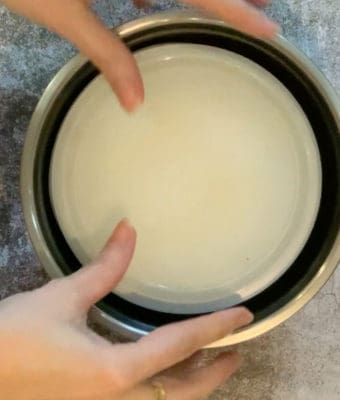
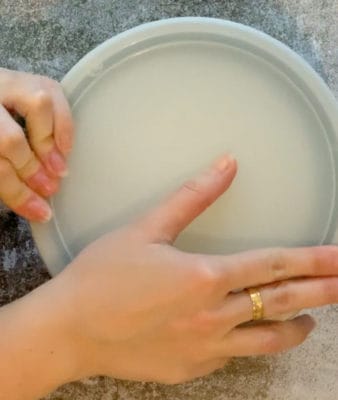
When there are no visible lumps and it’s completely mixed in and frothy, place the lid on the smaller bowl. The place the sealed tub inside the larger tub and place the lid on it.
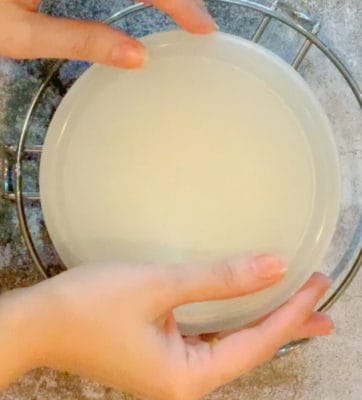
Step 7.
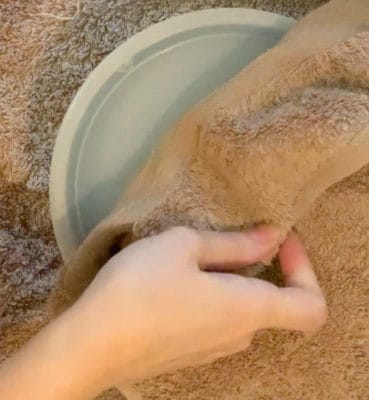
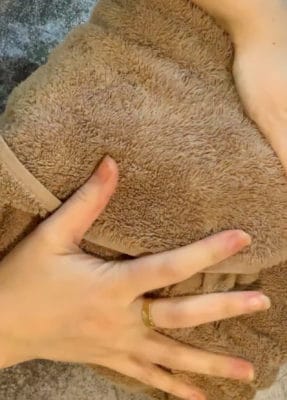
Wrap the tubs in towels or blankets or in any thick insulating fabric. Make sure to keep the bottom level, or your dhai will set at an angle! Leave in warm place overnight. We usually did this at about 10;30/11p.m. We placed this batch on a warm radiator, that had an individual thermostat and was set to setting 3 out of 6.
Step 8.
The next morning -first thing, around 7-8a.m.-ish, carefully unwrap and open the tubs. You will look with your eyes and smell with your nose and you will know it’s right or… if it’s soured, (left too long, conditions too warm).
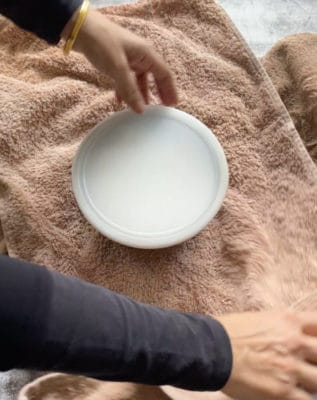
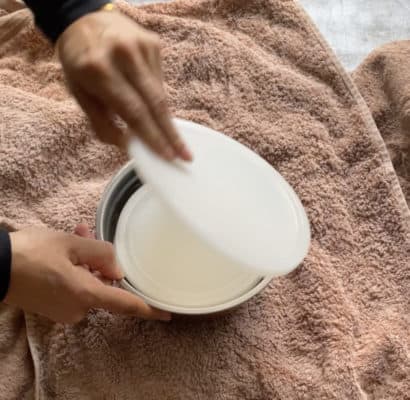
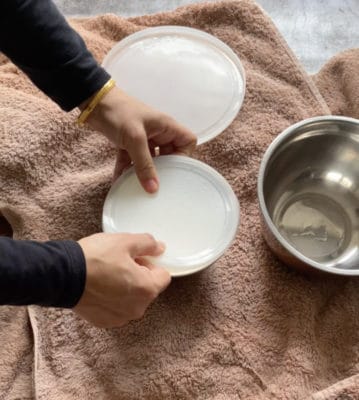
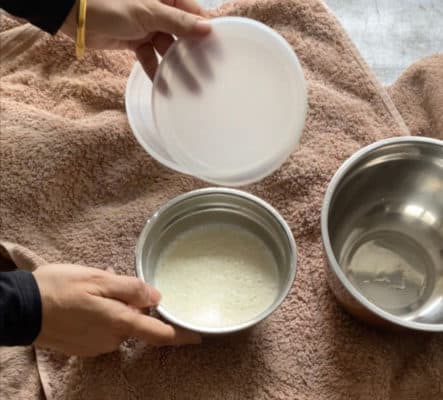
Thick creamy dhai (yoghurt).
Refridgerate. Eat and enjoy. Traditionally served with dhal and roti, and most of our meals, whether chicken and rice or Saag and Makki di Roti. Home-made yoghurt is also incidentally very good for gut health!
Save two tablespoons to make your next batch.
If you’d like to try making Paneer, (Indian cheese), then take a look at our post:

